
Hello, you freshies, my name is not relevant even though Ms. Cauchon might tell you and or show you my name anyways, but I am here to tell you the tips and tricks to Digital Photo 1. Now starting off with Ms. Cauchon, it is pronounced (Co-Shaun) get it right or you’ll end up confusing people around you, and she may look all nice and sweet in the pictures and in real life, but she can get very mean and scary when you piss her off or talk while she is talking, I’m serious, do not talk when she is talking, and if you must then quietly quietly whisper. Moving on to the assignments, assignments are fairly easy if you are to stay working and diligent, but if you were to stay playing video games all class and putting work off until the last second (That just so happens to be me) then you’ll start falling behind. Otherwise, you’ll do very well in this class, moving on to missing assignments, to be completely honest with you, you could probably miss like 3 assignments and still get some credits for it, hell this assignment I’m doing right now is late, (jokes, please don’t take points off ;-;) but you could do assignments and if they meet Ms. Cauchon standards then you could probably get full points, (even if they don’t meet her standards, lowest you’ll get is probably a 6, Miguel rarely did his assignments and somehow still passed [Miguel Rosado] you can probably find his blog somewhere) That’s mostly it, oh and you can change your seat any day, there’s no seating chart in her class.
AI in photo
There is certainly a lot to know and many different ways you can use AI in photography. As you can see, artificial intelligence serves two main purposes in photography — to speed up your workflow, or to enhance your images. Hopefully this guide helped to show that using AI to improve your photography is easier and more useful than ever. There is an AI tool for practically any task you can need for your photography.
Aura

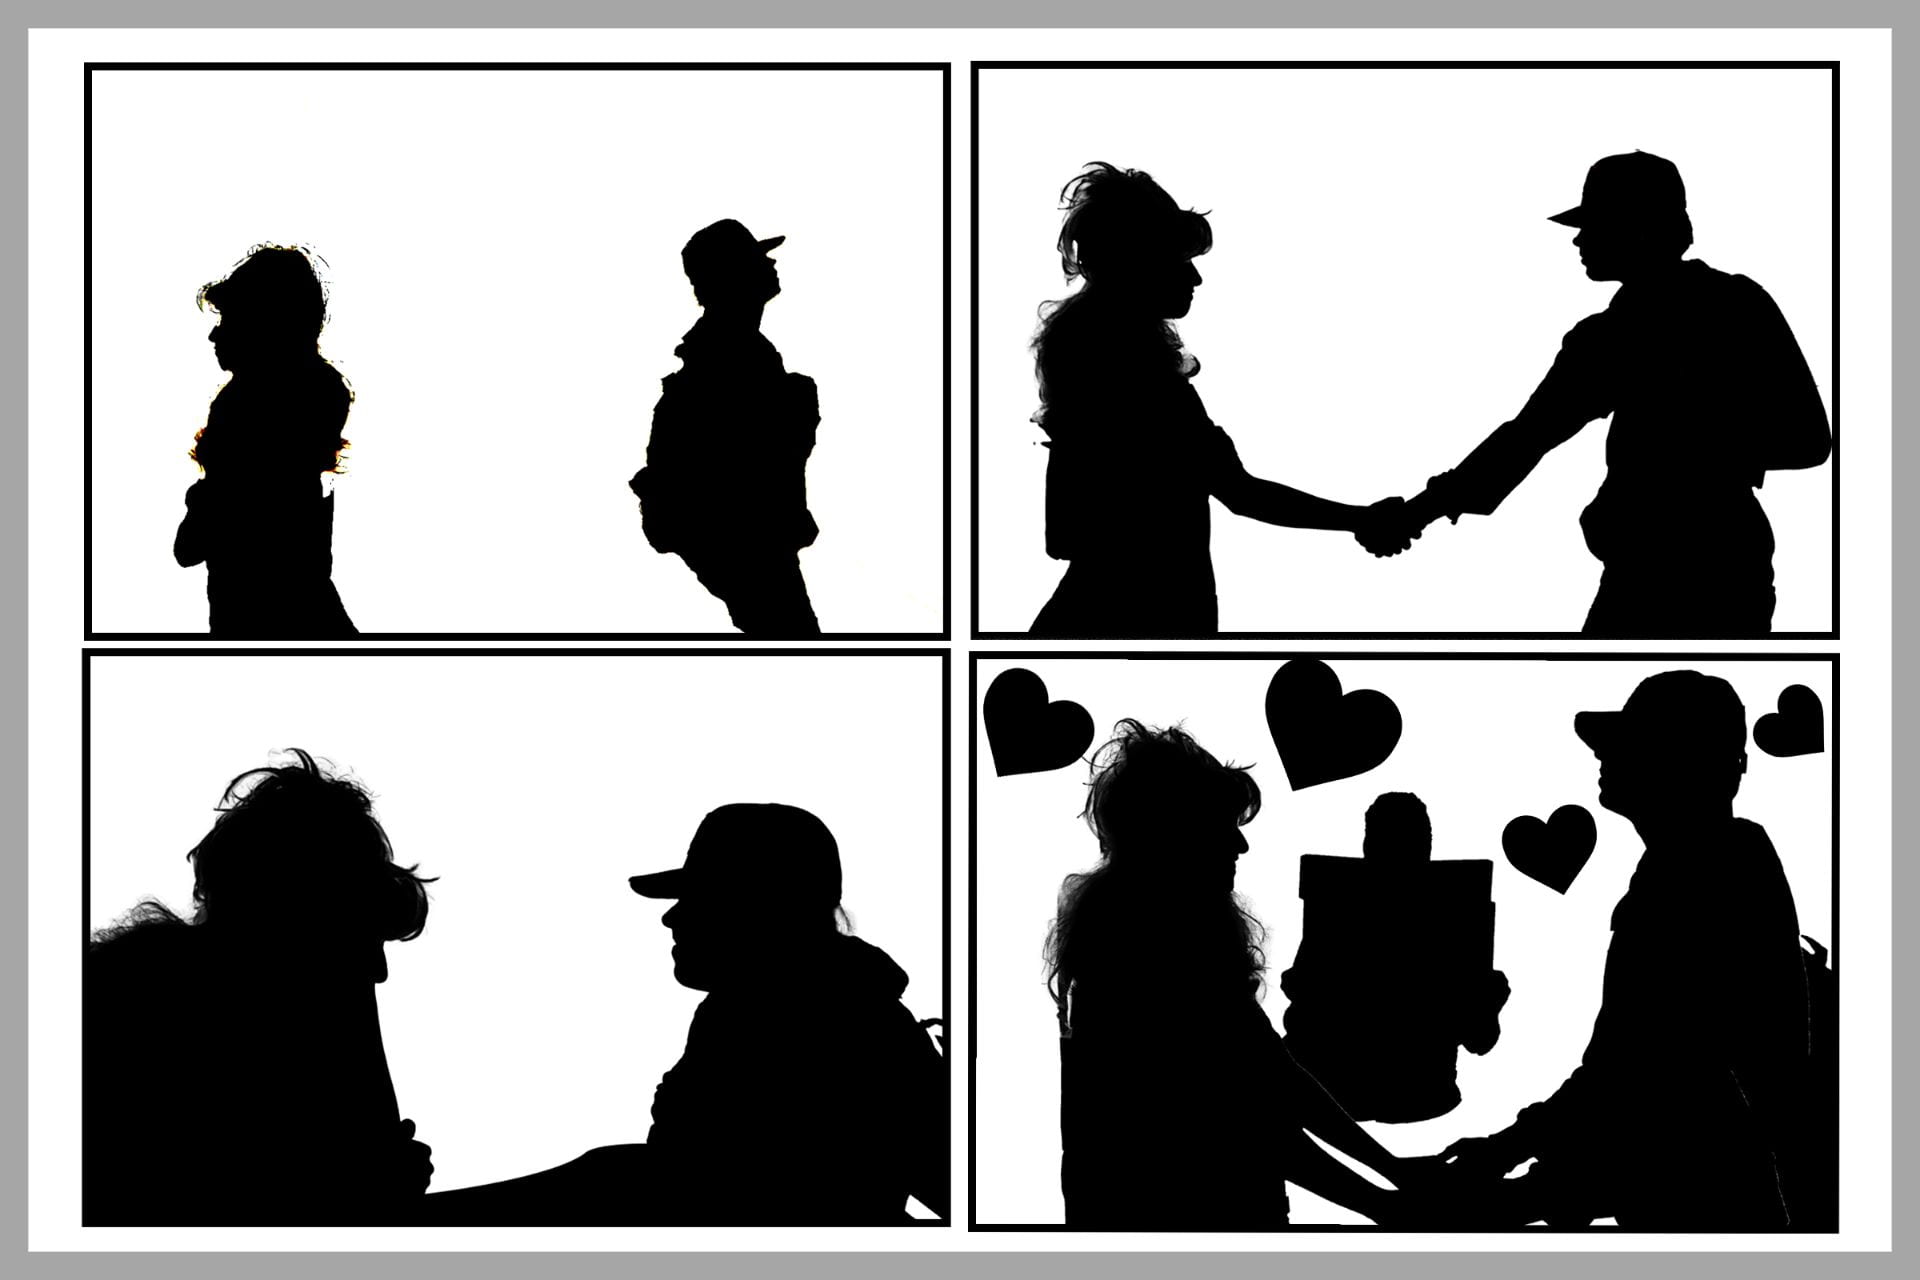
Silhouette story
B&W
Black & White is important to photographers because of what it does to pictures, it makes subjects pop and they end up looking very clear and shows creative problems. It is more freeing to Photographers because photographers aren’t bound to problems like color. Black and white could be more soothing on the eyes without so much color and just showing the subject and depth. Finally, it can show more creative choices for the audience, instead of seeing the color the audience would be able to imagine the picture how they would want it to look.
Vacation

I would go on a cruise and take a gopro and money with me so i can buy whatever the hell i want and record every fun thing i do and show my family what they had missed out on
Fill Flash


Favorite Teacher

Ms. Cauchon is my favorite teacher because she makes me laugh and smile and I feel comfortable in her class
Light Gels
 This picture has good lighting and it has nice depth to the picture


Read and Write
1. Setting the exposure using the histogram
The camera’s LCD screen might be a good way to tell if what you’re doing is right, but it’s not entirely reliable in conditions like harsh sunlight. The best way to tell if your exposure is correct is by consulting the histogram. Learn how to read it and make the necessary adjustments and until it indicates a proper exposure. (Learn more about reading a histogram)
2. RAW
Most cameras produce high quality jpgs, yet they’re still no match for RAW files. The downside to the jpg format is that it’s a compressed file. Not all the information that should be there is present. Color, contrast and detail are all affected by this compression. To put simpler, shooting in RAW format will give you access to the full capabilities of your camera.
3. Selecting focusing points manually
Your camera has the option of selecting the autofocus points for you, but it can’t always anticipate correctly. That’s why learning to change the AF points manually is a useful skill. It will improve focusing accuracy and reduce chances of missing important shots.
4. Learn all AF modes
Most cameras come with different autofocus modes like One-shot AF, Servo AF and AI Autofocus. All of these modes have different uses, depending on subject and situation.
The one-shot mode will stop refocusing once it’s locked onto the subject. It will remain locked as long as you hold your finger on the shutter release, half pressed.
AI- Servo AF mode won’t lock the focus and it will constantly refocus. It is a great focusing mode for sports and other fast moving subjects.
AI focus will automatically from one -shot to Servo if it detects movement in the frame.
This is a very brief explanation of AF modes. It’s best to read your camera’s manual and to experiment with all of them.
5. Aperture Priority
In aperture priority mode, your camera will vary the exposure settings depending on the aperture value you set. Having complete control over aperture means control over depth of field. This is a great setting for shooting portraits with a blurred background.
6. Shutter Priority
The shutter priority mode works just like aperture priority, in the sense that it gives you complete control over shutter speed while making all the other settings automatically, according to the selected value. This is a great setting for situations where you don’t want the shutter speed to go over or under a specific value. Fast moving subjects can be shot in this mode, but it’s also very useful for low light situations where you don’t want the shutter speed to be slower than what you can use to shoot hand held.
7. Control motion blur
Motion blur often comes from using a shutter speed that is too slow for holding the camera in your hands. Every photographer has a maximum low speed they can use. For some it’s 1/60th, but others can shoot hand held at 1/8th. It’s a question of practice. Learn what the lowest speed is for you and stick to it for motion free images.
8. Manual White Balance
All digital cameras have a few white balance presets.While they can do a fairly decent job, we recommend learning to set white balance manually, according to each lighting situation.
9. Drive Modes
This isn’t a major setting, but you never know when you’re going to have drive modes. Essentially, there are three of them: single shot, continuous low and continuous high.
The first mode obviously allows you to shoot one frame at a time. It great for studio work or when shooting anything you have complete control over. CL is great for portraits when you have an expressive model and don’t want to miss any interesting faces. CH is the shooting mode for sports, wildlife and anything that moves fast.
9. Metering modes
There are three metering modes in most cameras, each with a specific job. They have different names depending on camera manufacturer, but essentially they behave the same. The best way to master metering modes is to start by reading the camera manual. After that, photograph the same scene using all three modes and compare the results. (Read about Understanding and Selection of Camera Metering Modes)
10. ISO
Learn how to select the correct ISO value depending on the lighting conditions. Lower values are great when there is plenty of light to work with. Higher ISO values are needed for working in low light. Just keep the noise levels in mind.
11. Auto-ISO
We’re generally not fond of any auto setting, but auto ISO will help you when shooting hand held. It will increase or decrease the value in order to allow you to shoot with a shutter speed fast enough for hand held operation.
12. Exposure compensation
It is a +/- scale that will tell your camera to increase or decrease exposure, depending on your needs. It works for all semi-automatic modes (P, Av, TV) and will influence exposure in increments. Be careful not to set it too high or low from the first attempt and instead try to get to a correct exposure gradually.
13. Manual exposure
The last stage of learning how to use your camera’s settings is full manual control. You can’t call yourself a real photographer until you’ve learned to control every little setting on your camera. Only then will you be able to use it at its full potential.